Cyton Board Programming Tutorial - FW 1.X.X and 8-bit Board
THIS FIRMWARE VERSION HAS BEEN DEPRECATED AND IS NO LONGER IN PRODUCTION.
The latest firmware can be found in the Cyton Firmware GitHub. If you have purchased a Cyton before 2016, we recommend you buy a new one at our Shop!
Firmware Version 1.x.x (2014 - Fall 2016)
You will need:
- Computer running Arduino v1.8.0 or later
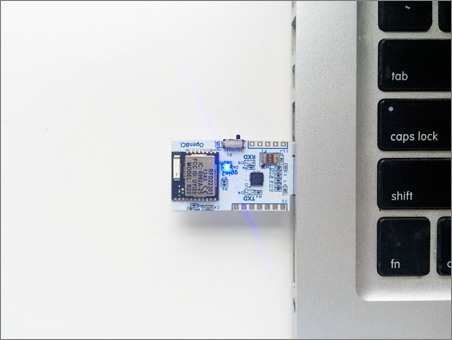
- OpenBCI Dongle connected to USB port
- OpenBCI Cyton Board with battery power
Note: Always plug the Dongle into the PC before powering the Board because the Host (RFduino on the Dongle) must be powered before the Device (RFduino on the Board).
First, install the Arduino IDE which can be found here:
https://www.arduino.cc/en/Main/Software
Note for Windows users: While installing Arduino 1.8, if the installer instructs you to uninstall 1.5.8, move the Arduino folder containing 1.5.8 from Program Files (x86) to your downloads folder. Rename this folder to Arduino_1.5.8. Open the Change or remove program app in Control Panel and uninstall the Arduino application. There will be a popup indicating that the files do not exist and asking if you want to remove the program from the files list; select yes. Then install 1.8.0 as normal. Navigate back to your Program Files (x86) folder and locate the Arduino folder. Rename this folder to Arduino_1.8.0. Now drag and drop the Arduino_1.5.8 back into the Program Files folder.
You can find the previous OpenBCI firmware and libraries on our github repository.
https://github.com/OpenBCI/OpenBCI_32bit

https://github.com/OpenBCI/OpenBCI_32bit_Library/tree/maint/1.0.0
- OpenBCI_32bit
- This is the firmware that runs on the OpenBCI 32bit Board
- OBCI_SD
- Supports writing raw data to on-board SD card
- OpenBCI_32_Daisy
- The OpenBCI 32bit Library
You will need to install the folders 'OpenBCI_32_Daisy' and 'OBCI_SD' from our Libraries repository into your Documents/Arduino/libraries folder. If there is no 'libraries' folder in the sketch folder, create one. Move the folder called 'OpenBCI_32bit' into your Documents/Arduino folder.
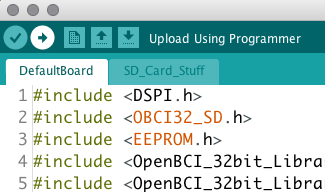
Before you can upload code correctly to the PIC32 with Arduino, you need to add the chipKIT-core board files to your Arduino IDE. The folks at chipKIT have put together instructions on how to Auto Install via URL from within Arduino. Follow the process in the previous link, and you will be able to select the OpenBCI board from the Tools >> Board >> dropdown menu!
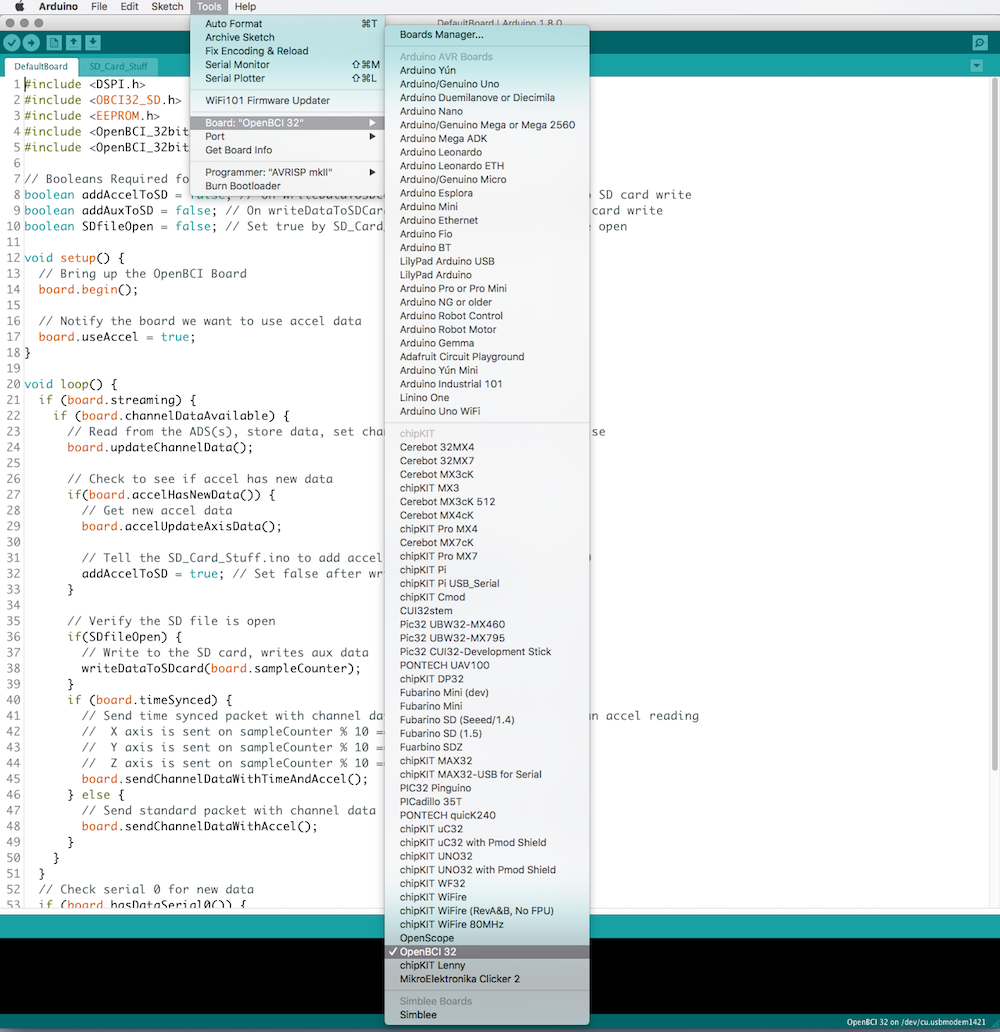
Open the OpenBCI_32bit sketch from the File -> Sketchbook dropdown. Then select OpenBCI 32 from the Board drop-down menu.
Make sure that the slide switch on the OpenBCI Dongle is switched to the GPIO6 selection (towards your computer). If it's on the other side, it will try to program the Dongle-mounted RFduino! Now is a good time to plug your Dongle in and power down the Cyton Board.
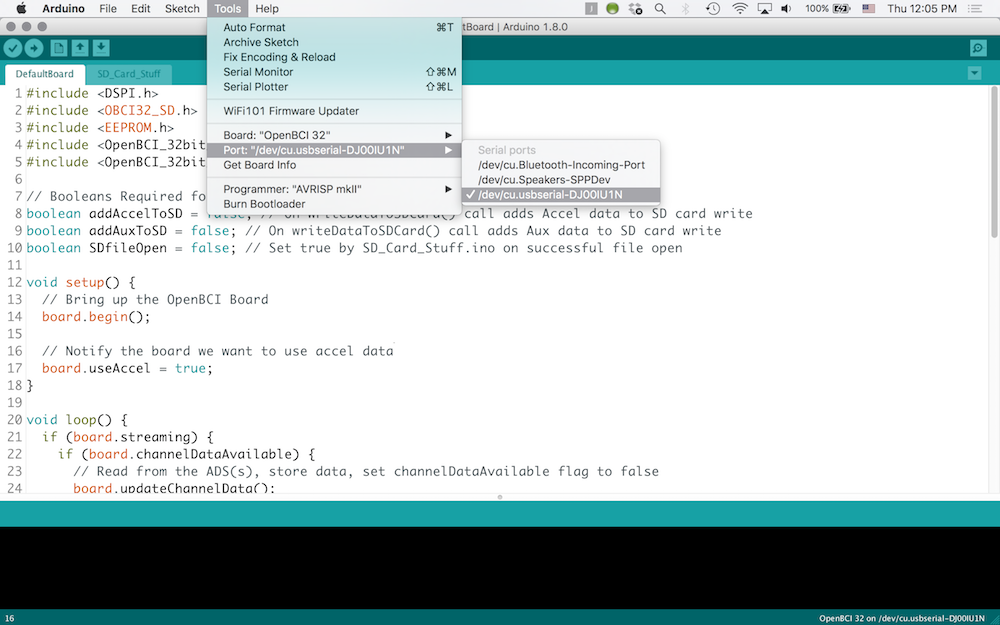
Select the correct serial port for your OpenBCI Dongle.
-
On Macs, this will be named /dev/tty.usbserial-DN00nnnn where the nnnn is a combination of numbers and letters specific to your openBCI Dongle.
-
On Windows, the serial port will be listed as a numbered COM port.
-
On Linux, it will be different.
When you are happy with the code, you will have to put the 32bit board into bootloader mode. We don't have a way to remotely reset the chipKIT compatible IC, so you have to do it manually.
-
If you're uploading firmware 3.x.x, you'll need to make sure you have the WiFi library installed before uploading the firmware. To do this, go to
Sketch > Include Library > Manage Libraries. -
Then, in the search field in the upper right, type OpenBCI WiFi.
-
Now, click OpenBCI_WiFi_Master and install v1.0.0 (or the latest version if there are newer versions).
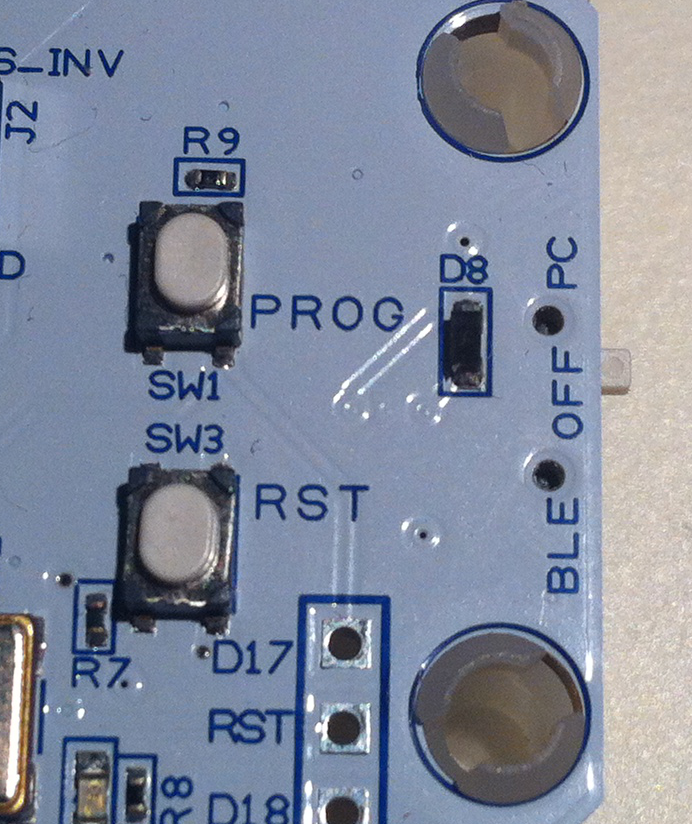
Note: we suggest that for the five steps below you use one thumb to press down both the RST and PROG buttons, while using your other thumb to toggle the switch between OFF and PC.
- Power OFF the OpenBCI Board.
- Press down both RST and PROG buttons at the same time (with your left thumb).
- Power ON the OpenBCI Board (with your right thumb).
- Release the RST button while still holding down the PROG button.
- Release the PROG button.
Now you should see the blue LED on the Cyton Board blinking pleasantly. Your Cyton board is ready to be flashed!
- Press the upload button on the Arduino IDE (the circular button with the arrow pointing to the right). That's it! You will see some blinky lights on the Dongle, and after a short while, the Arduino IDE will tell you that it's done. Happy Hacking!
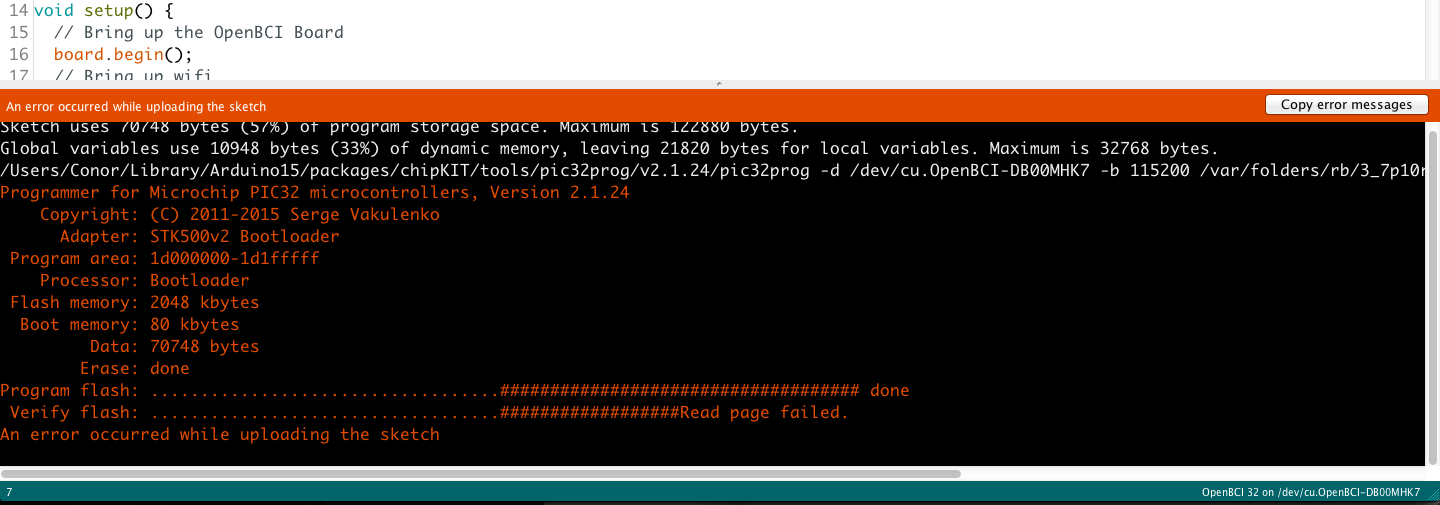
Occasionally, you may see the error message in the screenshot below. You can ignore this. As long as
Program flash: ...................................#################################### done appears, 99 out of 100 times your firmware uploaded correctly. If your board doesn't appear to be working in the GUI (or other software), simply try re-uploading the firmware.
8bit Upload How-To
NOTE: The 8bit Hardware is no longer in production
You will need:
- Computer running Arduino IDE
- OpenBCI Dongle connected to USB port
- OpenBCI 8bit Board with battery power
Make sure that the slide switch on the OpenBCI Dongle is switched to the GPIO6 selection. That way the DTR reset signal will get passed over-air to the ATmega328. If it's on the other side, it will try to program the Dongle-mounted RFduino!
You can find the latest firmware and libraries on our github repository
- ** DEPRECATED **
You will need to install these files from our repository into your Documents/arduino/libraries folder
- SdFat
- Supports writing raw data to on-board SD card
- OpenBCI_8
- The OpenBCI 8bit Library
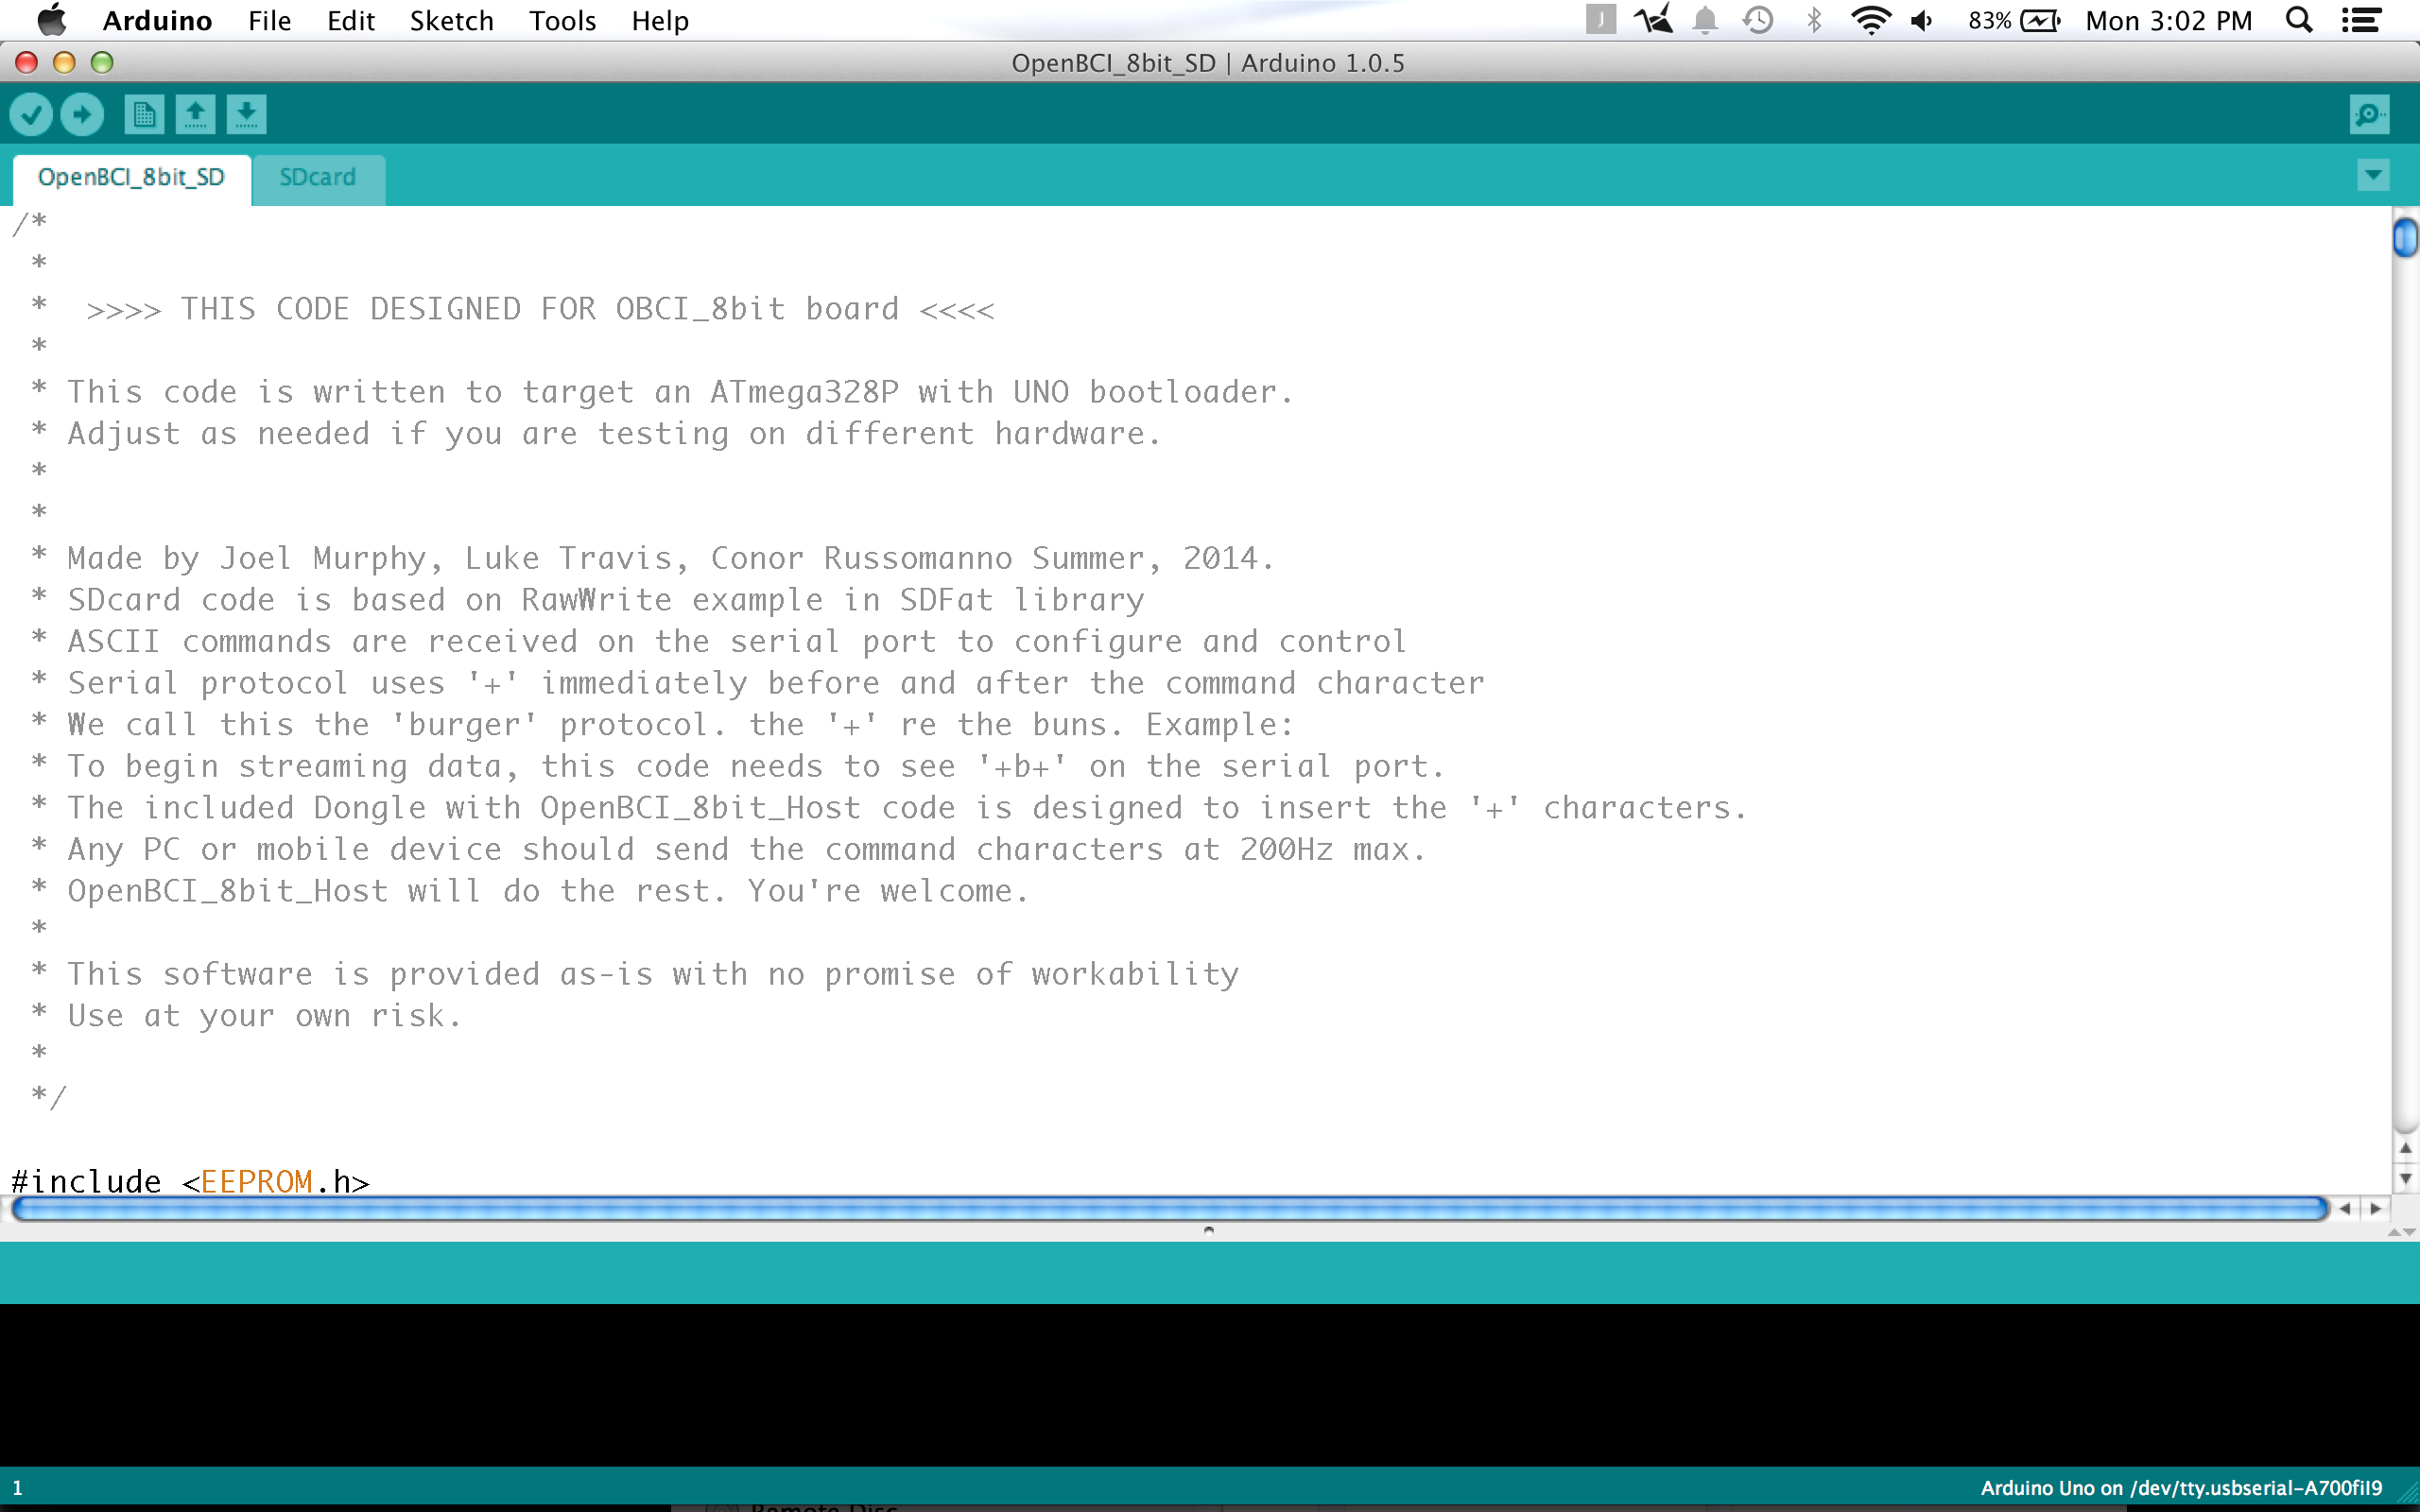
Move the file OpenBCI_8bit_SD.ino into your Documents/arduino folder, and start up the Arduino IDE. you should then see the sketch in your Sketch folder.

Select Arduino UNO from the Board drop-down menu.
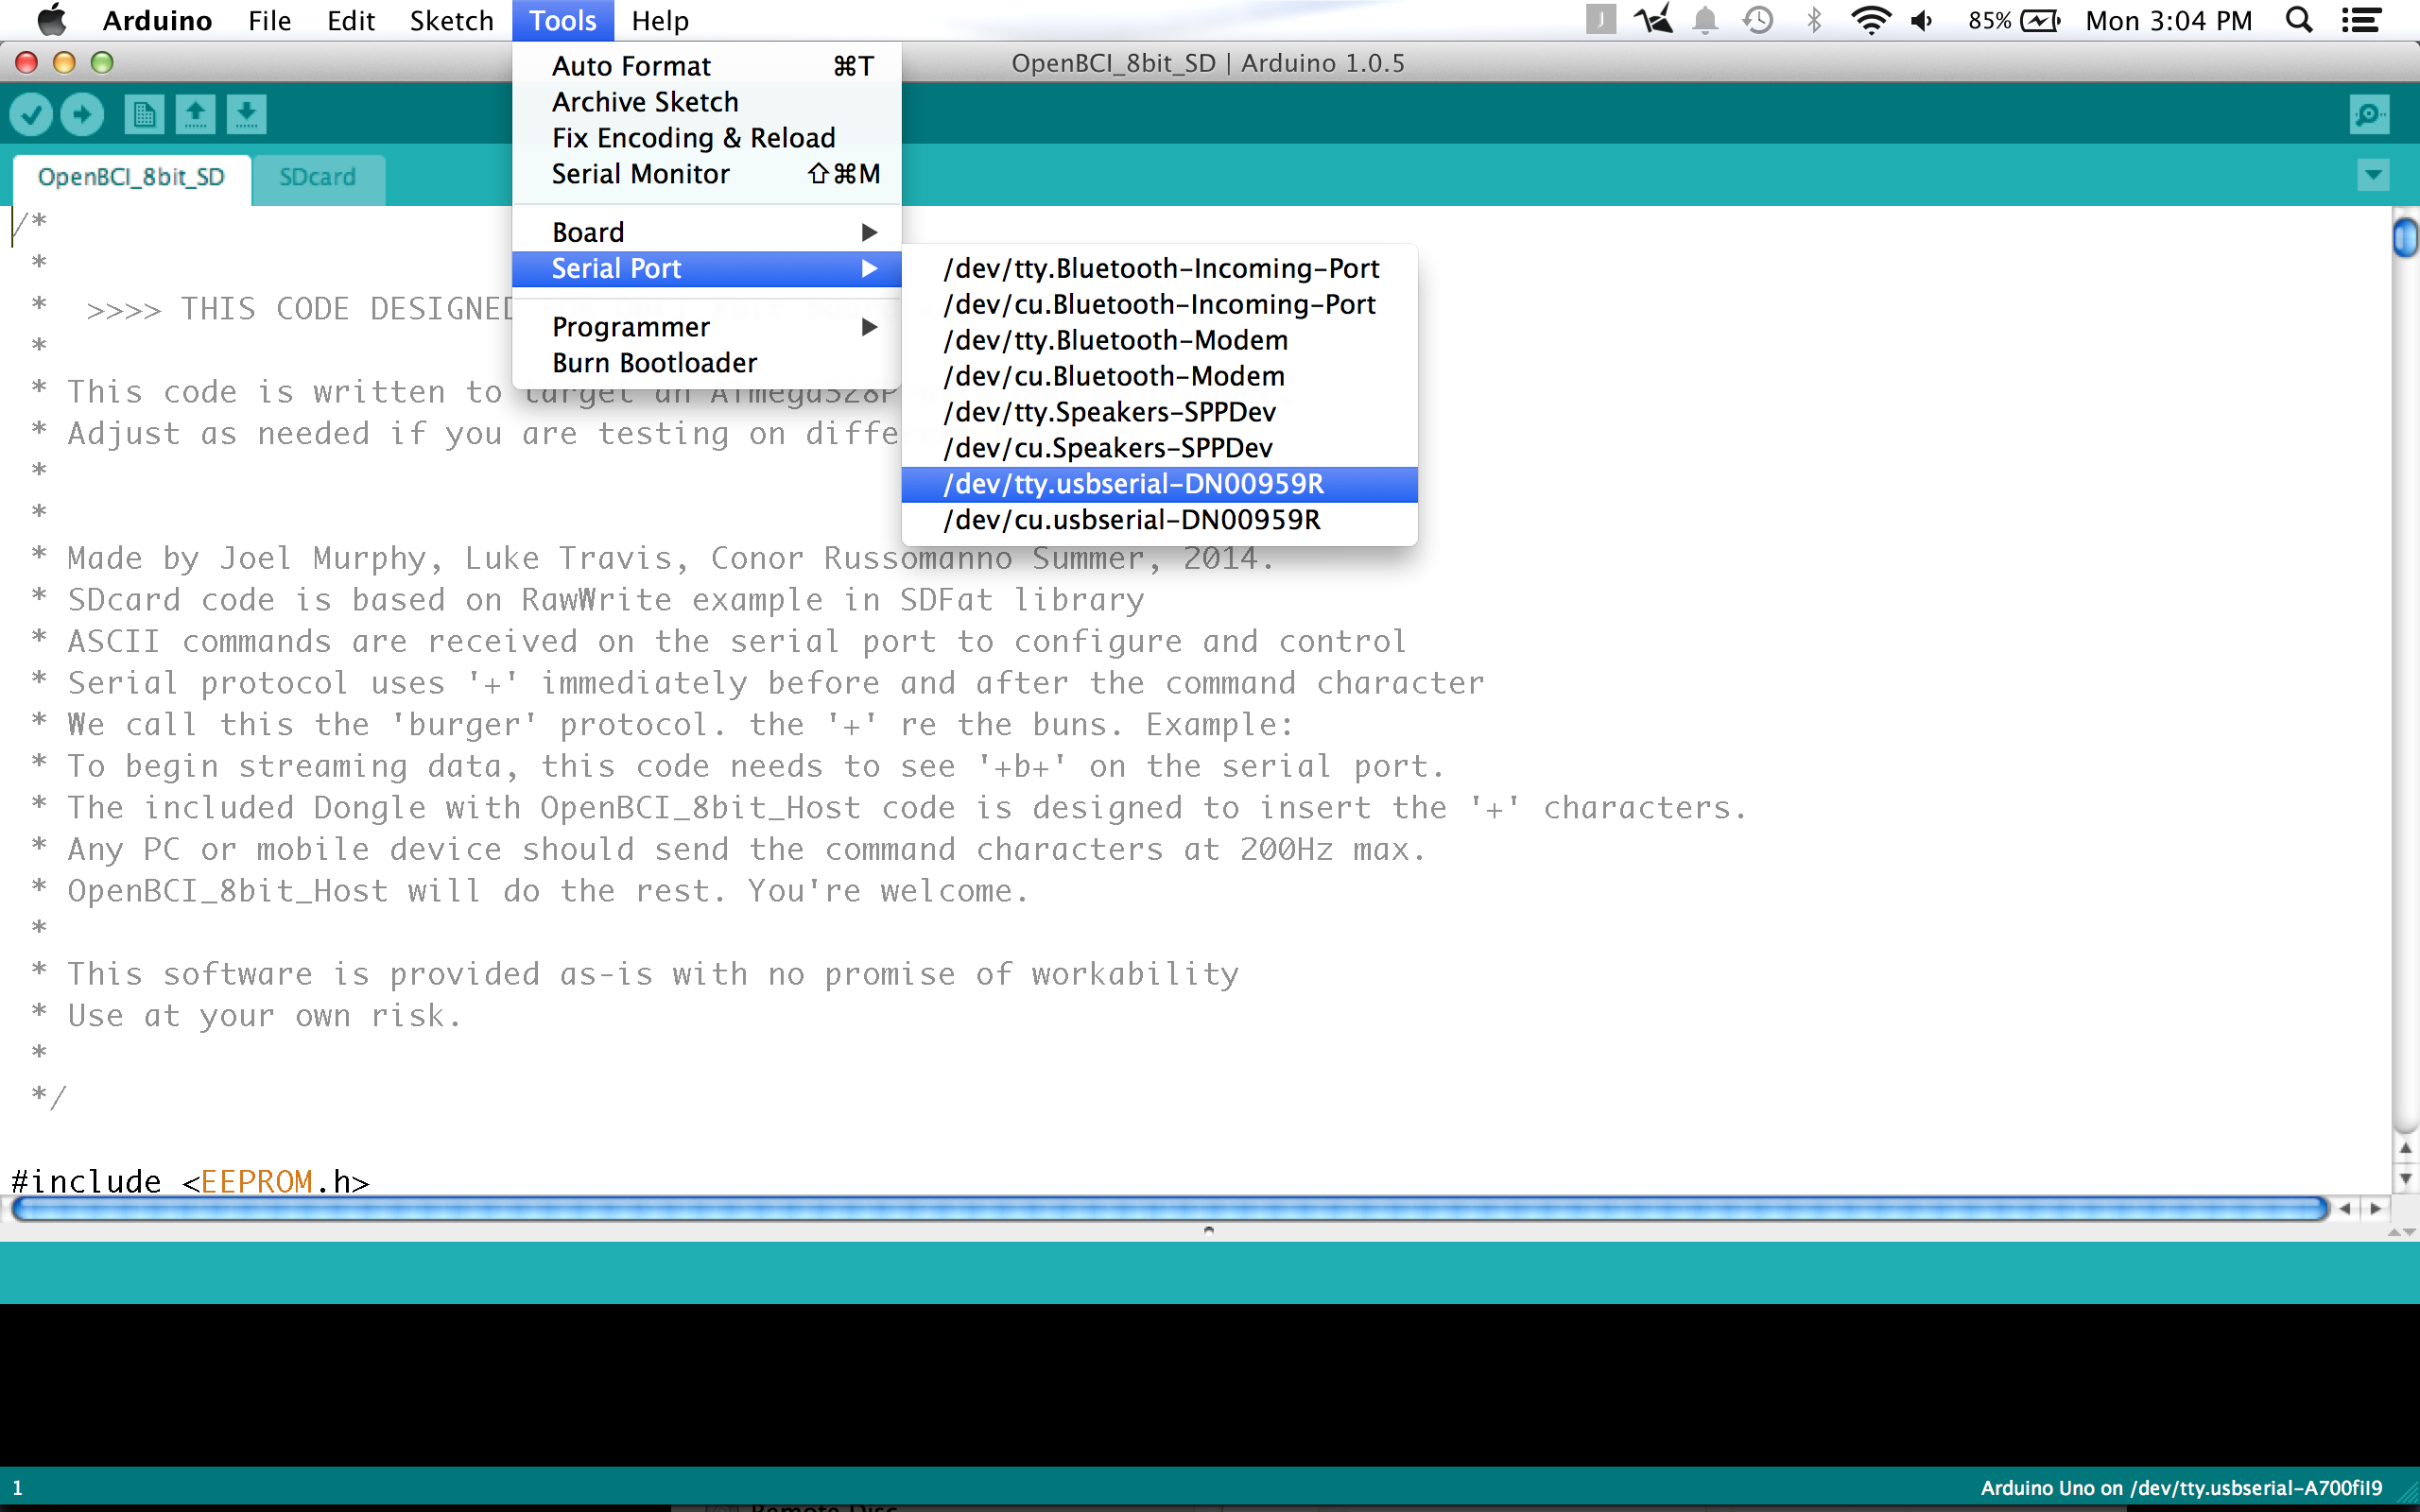
Select the correct serial port for your OpenBCI Dongle.
-
On Macs, this will be named /dev/tty.usbserial-DN00nnnn where the nnnn is a combination of numbers and letters specific to your openBCI Dongle.
-
On Windows, the serial port will be listed as a COM port.
-
On Linux, it will be different.
When you are happy with the code, simply press upload to program the OpenBCI 8bit target. That's it! You will see some blinky lights on the Dongle, and after a short while, the Arduino IDE will tell you that it's done.