VirtualBox Windows Guide
Some of the software compatible with OpenBCI products requires a Windows operating system. If you have a non-Windows computer, you can still use this software through a Windows virtual machine on VirtualBox.
Installing Windows 7 VM in VirtualBox
-
Download VirtualBox.
-
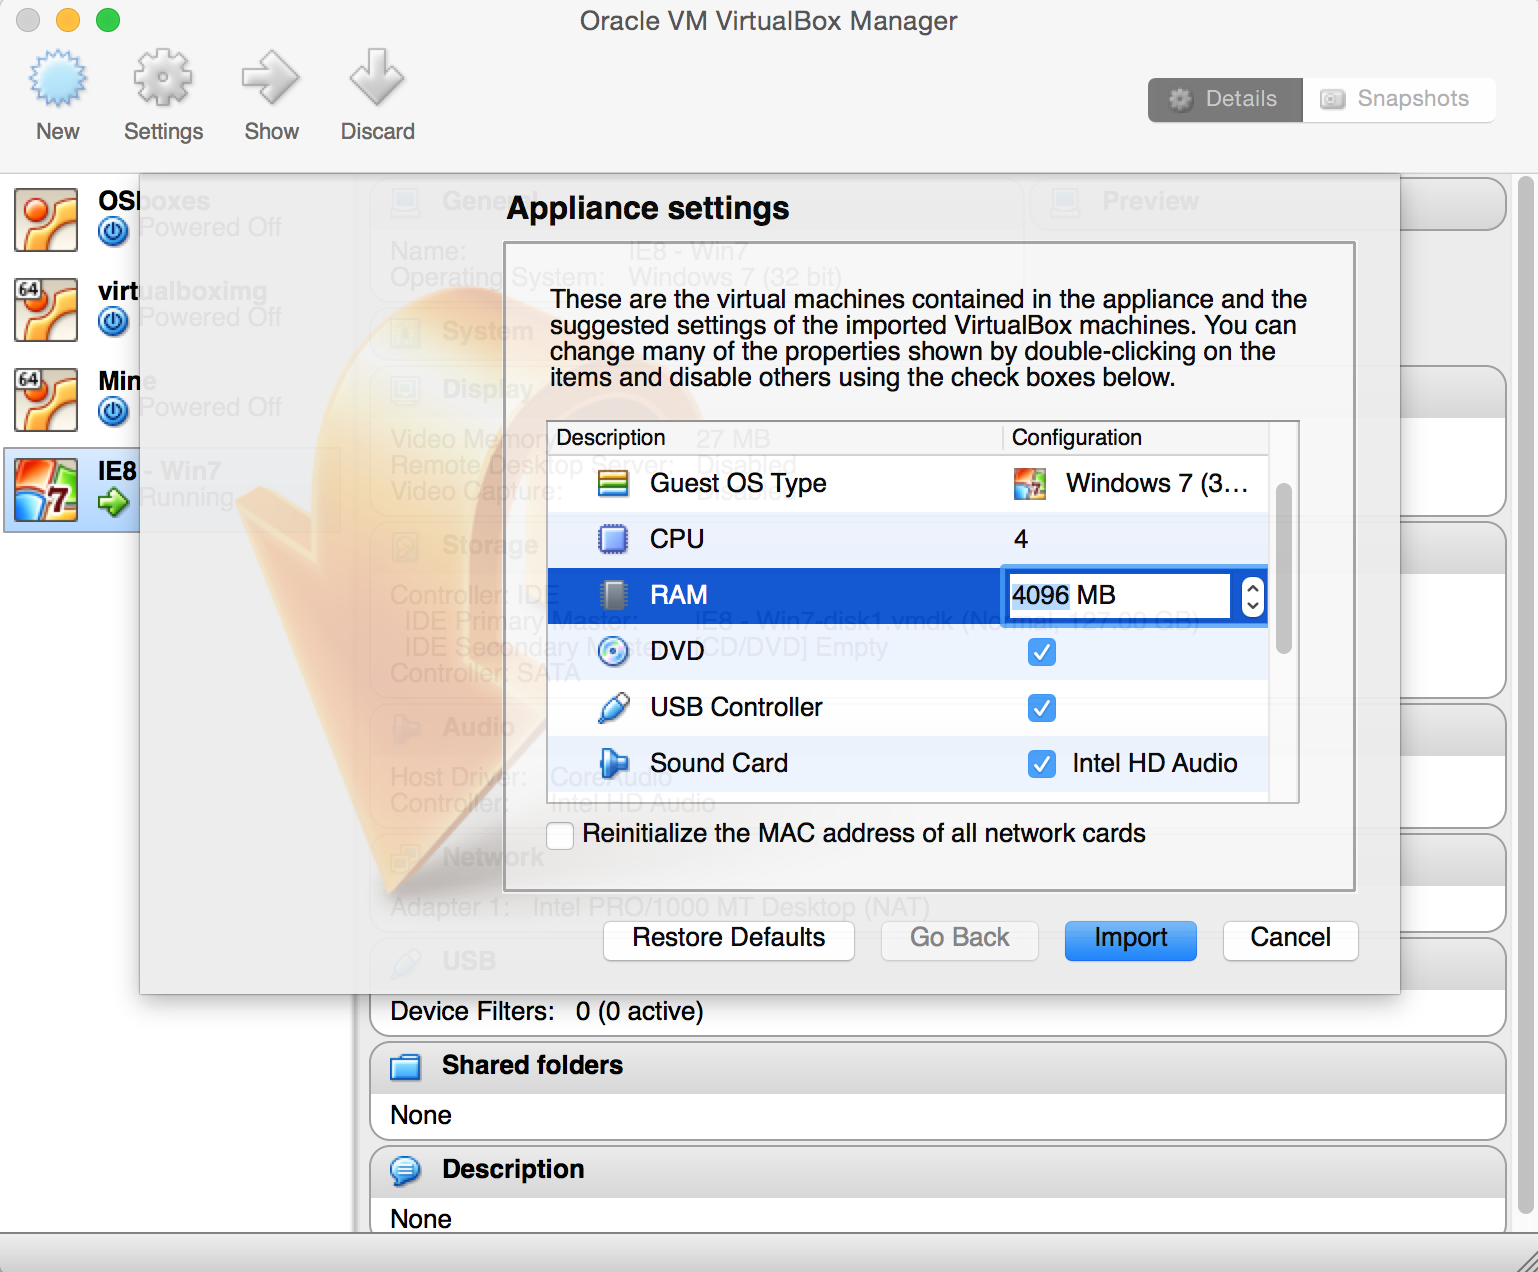
Go to https: and download a Windows 7 virtual machine (I used IE8) image for your appropriate host on the "Choose your OS" tab (the OS that your computer runs natively), choosing VirtualBox as the platform.
-
Extract and double click on the .OVA file resulting from the extraction. This should start Virtual Box and set up your VM's configurations.
-
Some EEG processing software uses a lot of RAM (OpenViBE acquisition server, for example). In fact, some will take up one entire core, if they can. Because of this, I advise that you configure your VM to have multiple cores and as much RAM as you deem reasonable.
-
Import the VM, go through all the configs and start it.
-
For more detailed instructions, tutorials, and troubleshooting, see the Windows Manual. (If you selected a different distribution other than Win 7, see the respective manual in the Windows page.)
-
Follow the OpenBCI on Windows tutorial to properly connect your OpenBCI board on Windows.
NOTE: Make sure that Guest Additions are installed correctly on your VM. With the image used, they should be automatically installed.
Sharing files with VirtualBox
If you have files on your regular OS that you'd like to access through VirtualBox, follow these steps to create a shared folder:
-
Start VirtualBox. When the "Oracle VM VirtualBox Manager" window appears, select your virtual machine (so that it's highlighted in blue). Make sure your virtual machine is in the "powered off" mode, and not the "saved state" mode.
-
Click Settings and then the "Shared Folders" tab.
-
Click the icon for "Add new shared folder", and select the file path to a folder you'd like to share.
-
Start your virtual machine.
-
Open a file explorer window and navigate to the "Network" location.
-
You may need to select "Turn on network and file sharing" as an administrator. Then, a computer called "VBOXSVR" will appear.
-
Double click on that computer and you should see your shared folder.
You're all set! For more information, look at the VirtualBox documentation.
Using OpenBCI Hardware within VirtualBox
While using third-party software, you might want to stream data from your OpenBCI board directly to a program on your virtual machine. Here's how to livestream from your OpenBCI board within your VM.
OpenBCI Cyton Board
-
Make sure you're comfortable using your Cyton board and Dongle with your host computer and the OpenBCI GUI. To do so, check out our Cyton Getting Started Guide.
-
Plug in your Dongle and turn on your Cyton board. Both should display a blue light.
-
Start VirtualBox. When the "Oracle VM VirtualBox Manager" window appears, select your virtual machine (so that it's highlighted in blue). Make sure your virtual machine is in the "powered off" mode, and not the "saved state" mode.
-
Click Settings and then the Ports tab.
-
Switch to the USB tab.
-
Check "Enable USB Controller" and select "USB 2.0 (EHCI) Controller".
-
Under USB Device Filters, click the "Add USB" icon with the green plus sign. The FTDI Driver used by the OpenBCI Dongle should appear in a drop-down menu. Select it. It should now appear under "USB Device Filters".
-
Click "OK" to save these settings. Make sure no other program that connects to your Dongle (like the OpenBCI GUI) is currently running. Start your virtual machine.
-
From within your virtual machine, open the control panel, then navigate to Hardware and Sound -> Device Manager.
-
You should see the FT USB driver under "Other devices." It may have a warning indicator next to it. Double-click the driver name.
-
Doing so should open a "Properties" page. Go to the "General" tab and select "Update Driver..."
-
Select "Search automatically for updated driver software" when prompted.
-
Wait for your VM OS to search for and download the driver software. You will be prompted when the driver software is downloaded successfully.
-
Now, in the Device Manager, there should be an object under "Universal Serial Bus controllers" called "USB Serial Converter." There should also be a "Ports" tab with at least one device.
-
The device listed under "Ports" is your OpenBCI Dongle, and the address in parentheses is its COM Port. In the example above, the OpenBCI Dongle is on COM Port 3.
You should now be able to communicate with your OpenBCI Dongle and board from within your VM! Have more questions? Post them on our Forum.